
Dyeing eggs is a staple Easter activity, but although many of us have been dipping eggs in food coloring since we were practically in diapers, few of us have truly mastered the art of egg dyeing 101. Personally, I have a bad habit of starting off with too intricate a design, when really, it’s all about mastering the basics first. Once you can perfectly dye an Easter egg a solid color in your sleep, you can then move on to more advanced, Pinterest-y creations. I’m talking polka dots, zig zags, even bunny ears! There are a million and one ways to decorate your eggs, so read on for a step-by-step guide on the basics so you can flex your artistic muscles before Easter Sunday rolls around.
1. Gather Supplies
What do you need to start the process, you ask? Eggs, of course—as many as you like, but a minimum of six is a good start. You’ll also need a sharp knife, a paper clip, a rubber ear syringe (you can get creative with that one if needed!), vinegar, food coloring and water. If you foresee yourself getting really creative, consider stickers, pipe cleaners, glitter, markers, and whatever other craft supplies your little Easter Bunny heart desires.
2. Blow Out The Eggs
Start the process by using the tip of a sharp knife to pierce the egg at both ends, turning the knife in one of the holes so said hole widens. Then, use a straightened paper clip to poke through the larger hole to break up the yolk of the egg. Over a bowl, face the larger hole of the egg down, and blow the contents out using a rubber ear syringe. Voila, you’ve now got a hollow egg that’s ready to be dyed!
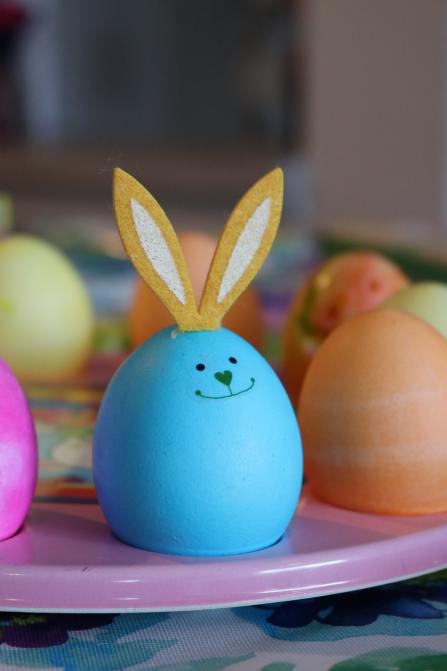
Eric Heininger/Unsplash
3. Prep Your Dye
Decide on your colors of choice, and start whipping up some gorgeous dyes. Mix one teaspoon of vinegar and twenty drops of food coloring in a cup of hot water. Whether your water is in a bowl or a cup, make sure there’s enough room for an egg to be fully submerged. Remember: however long you submerge the eggs will determine the color, so eggs submerged for less than five minutes will be light and pastel, while eggs left in for around ten minutes will have a more vibrant stain.
4. Get Creative
Depending on what you want to do, this step might come before your original dye-dipping. If you want to cake your egg in glitter or draw on designs with markers, do so once your eggs are dry. That said, there are many ways to personalize your eggs before and during the dying process. To make a multicolored egg, dye the whole egg in a lighter color first, let it dry, and then submerge the bottom half into a darker color. If you want certain areas of your egg untouched by dye, draw designs onto a clean egg with a white crayon—the dye will skip right over these spots.
5. Let The Eggs Dry
Be sure to give your eggs ample time to dry, or else risk ruining your painted creations! Place your eggs on a drying rack so they dry evenly all the way around, and if you plan to add stickers or glued-on details to your masterpieces, make sure they’re fully dried before doing so. Then, feel free to place them all around your home and have as many Instagram flatlay photoshoots as you like!
Previous versions of this article appeared in 2014 and 2017.