Scroll To See More Images
When it comes to nail trends, the most Instagrammed ones usually cost an arm and a leg to get professionally done (like my last $150 trip to the nail salon for glitter ombre nails). However, I’m happy to report that I’ve found an easy and cost-effective way to recreate a summer nail trend that we all know and love—jelly nails. After all, summer isn’t over just yet. There’s still a month of “scorching heat one day, torrential downpour the next” weather to look forward to. Spoiler alert: you won’t need much more than polish that you already own and a trip to your local dollar store.
In case you aren’t that familiar with jelly nails, I’ll explain. Anyone born in the ’90s (or with access to Google) have worn or at least seen jelly sandals—the warm-weather essential available in the prettiest, vibrant, translucent shades. Honestly, your childhood wasn’t complete without them. Fast forward to today where the trend is back and your nails are joining in on the action. Similar to the nostalgic sandals, jelly nails are a game-changing way to play with sheer color and a little texture. Paired with a shiny top coat, jelly nails have a colored glass-like finish that is beyond cute.
In hopes of saving some money while getting our nails all the way together, I found an easy way to create them at home without breaking bank.
What you’ll need
Your favorite nail polish
A clear, non-matte polish
A mixing plate/bowl/empty nail polish container
Clear Nail Tips and clear nail glue (optional)

Mika Robinson.
Step 1: Start with clean and prepped nails
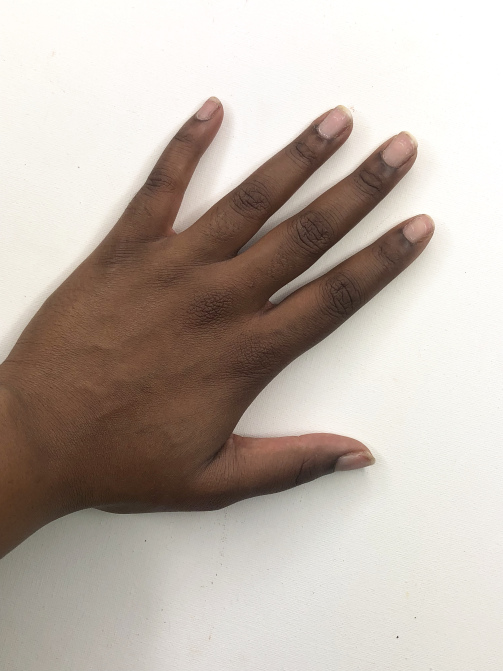
Jelly nails are see-through, so your natural nails need to be as clean as possible.

Mika Robinson.
If you want press-on and opt for clear nail tips, you still need clean natural nails so they better adhere. Also, use a clear nail glue (anything tinted may mess up the jelly effect).

Mika Robinson.
Step 2: Choose your polishes and apply a clear base coat
The colors you choose are totally up to you. However, through trial and error, I learn that really bright polishes (especially neons) make the best jelly nail polishes. I’m using Ginger + Liz polish in the shade “Goin’ Back To Cali” and L.A. Colors Basecoat/Topcoat Nail Treatment, which I found at my local Dollar Tree.
Adding a clear base is optional, however, I highly suggest doing if you’re applying the jelly polish directly to your natural nails, as it will keep your nail beds from yellowing.

Mika Robinson.
Step 3: Mix your colored and clear polish
This is the most important step and the most tricky. You have to get the portions right to ensure that your nail color is sheer enough to get the jelly nail look. I used a ratio of about 2:1, clear polish to colored. For mixing, I used a dollar makeup brush from e.l.f and a metal tray that I also found at the dollar store.
Step 4: Apply the mixed polish in thin layers
Depending on the proportions that you used for your mix, the number of layers will vary. The most important thing is to make sure each layer is thin. Because the jelly polish is sheer, it’s not as forgiving as an opaque polish. Applying thin layers helps you avoid streaks and bubbles. I applied mine with the same brush that I used to mix polish.
Step 5: Let your nails air-dry for a few minutes
Of course, we’re going to apply a top coat, but to avoid disrupting the jelly polish, it’s best to let it air-dry a bit before moving further.

Mika Robinson.
Step 6: Apply a high shine top coat
Jelly nails are nothing without a lot of shine. To seal in your polish and ensure brightness, apply a high shine topcoat. Again, I used the L.A. Colors Basecoat/Topcoat Nail Treatment.
Step 6: Flaunt your jelly!
I never thought I’d enjoy sheer polish so much but honestly, it’s a ’90s vibe that I’m all the way here for. If you’re into nail experiments like I am, I would recommend investing in an LED lamp for gel polish. While this DIY jelly nail polish works on natural nails with traditional polish, clear tips cured under a gel lamp really make the colors pop. The next time I do jelly nails, I’m definitely going that route for a longer-lasting manicure.

